Linksys velop mesh system comes with the three nodes. One of these nodes works as a WiFi router and other nodes works like extender to that router node. The velop node which will connect to the modem is called parent node and other ones called child nodes. The Linksys Velop setup is an easy and important process. You have to establish hardware connections and after that complete the Linksys velop login process. Here, you will gather all the information about the Velop installation. Let’s start it.
You have to pick a spot for the mesh system that is close to the modem so you can easily connect the parent node to the modem. Avoid the places which are near to the electronic things and concrete walls. Also, choose the spot far away from the fish tanks and heavy metal things.
Now, you have to connect the mesh system to modem. To connect, you should use the Ethernet cable. Connect both ends of the cable to the modem’s LAN port and parent node’s WAN port. Then connect all other nodes to the parent node. You just have to connect the Ethernet cable to the internet port of the child nodes and LAN port of the parent node.
After connecting the modem to the parent node and child nodes to parent node, you have to ensure that you plug in the power cord of the velop to a power socket that is in good condition. If the socket is damaged then you have to call an electrician to fix it. Also, check the condition of the power cord, if it is cut from anywhere just replace with a new one. Now turn on the modem first and then the Linksys velop system.
After establishing the hardware connection and start the velop system you have to log in to the web-based interface of the Linksys velop system. This will help you to manage the settings and network of the Velop. After this login process the Linksys velop setup will be completed. You can access the velop using two methods which are given down here.
You can use your computer to access the login page of the interface. Just follow these simple steps written down here.
Also, you can login using the IP address that is 192.168.0.1. You just have to enter this IP address instead of the login URL. After that all the steps will be same as above mentioned.
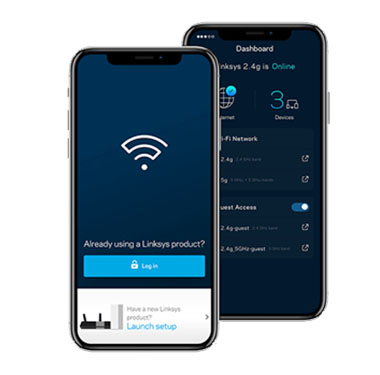
You can also login and set up Velop using your smartphone or iPhone via Linksys app. To access the interface of the Velop mesh system you have to connect you internet device to the network of the router. After that, follow these straight forward steps to download and then login using Linksys app to complete the Linksys Velop setup.
Using these paragraphs, you will able to complete the Linksys Velop setup and login process.
Disclaimer: Extendersetupinfo.com is a website providing information on various issues related to WiFi extenders. We do not have any accreditation with any third party brand or manufacturer. Any usage of images, logos, product images, and trademarks are just for informational and referential purposes. Our services are provided only on demand to users.